

Plug in gateway
- Plug your gateway into an outlet within range of your sensors.
- The gateway to sensor range is 350 feet direct line of sight, avoid metal & thick concrete obstructions in between
- The gateway will take 5-10 minutes to connect to the network, after which the green light will be solid

- For a detailed solar powered cell gateway installation guide: Solar Powered Gateway Installation
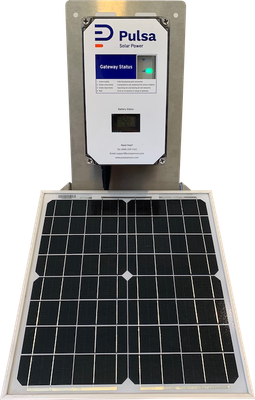
- Install your solar gateway within range of your sensors
- The gateway to sensor range is 350 feet direct line of sight, avoid metal & thick concrete obstructions in between
- The gateway will take 5-10 minutes to connect to the network, after which the green light on the top of the unit will be solid
Log in to your account

Add sensor to your account
- Tap the scan button in the center of the tab bar at the bottom of the app.
- Position the sensor QR code in the camera frame and tap Scan, to open the New Sensor wizard.
- Give the sensor a name, and choose a company to assign the sensor to.
- [If you are a member of only one company the sensor will be assigned to that company automatically]


- Click on [+ Add] button in the top header
- On the resulting form, give the sensor a name, enter it's serial number and id, and choose a company to assign the sensor to.
- [If you are a member of only one company the sensor will be assigned to that company automatically]

Connect sensor to a product
- After initialization, follow prompts on Pulsa dashboard to connect your sensor to a product
- Your "product" is what the sensor will be measuring. You can add a new product or select from previously created products.
- When adding a new product, select company, name product.
- Confirm details and create new product.
- Connected sensor should now be available on your dashboard.
For troubleshooting differential sensor readings, please visit: Troubleshooting


Verify gateway
- Verify gateway is displaying a solid green light.
- Gateway needs to be within within range of your sensors, which is 350 feet direct line of sight, and avoid metal & thick concrete obstructions in between
- Click on the circle icon in the top right of the Pulsa dashboard to see the last time the gateway saw your sensors

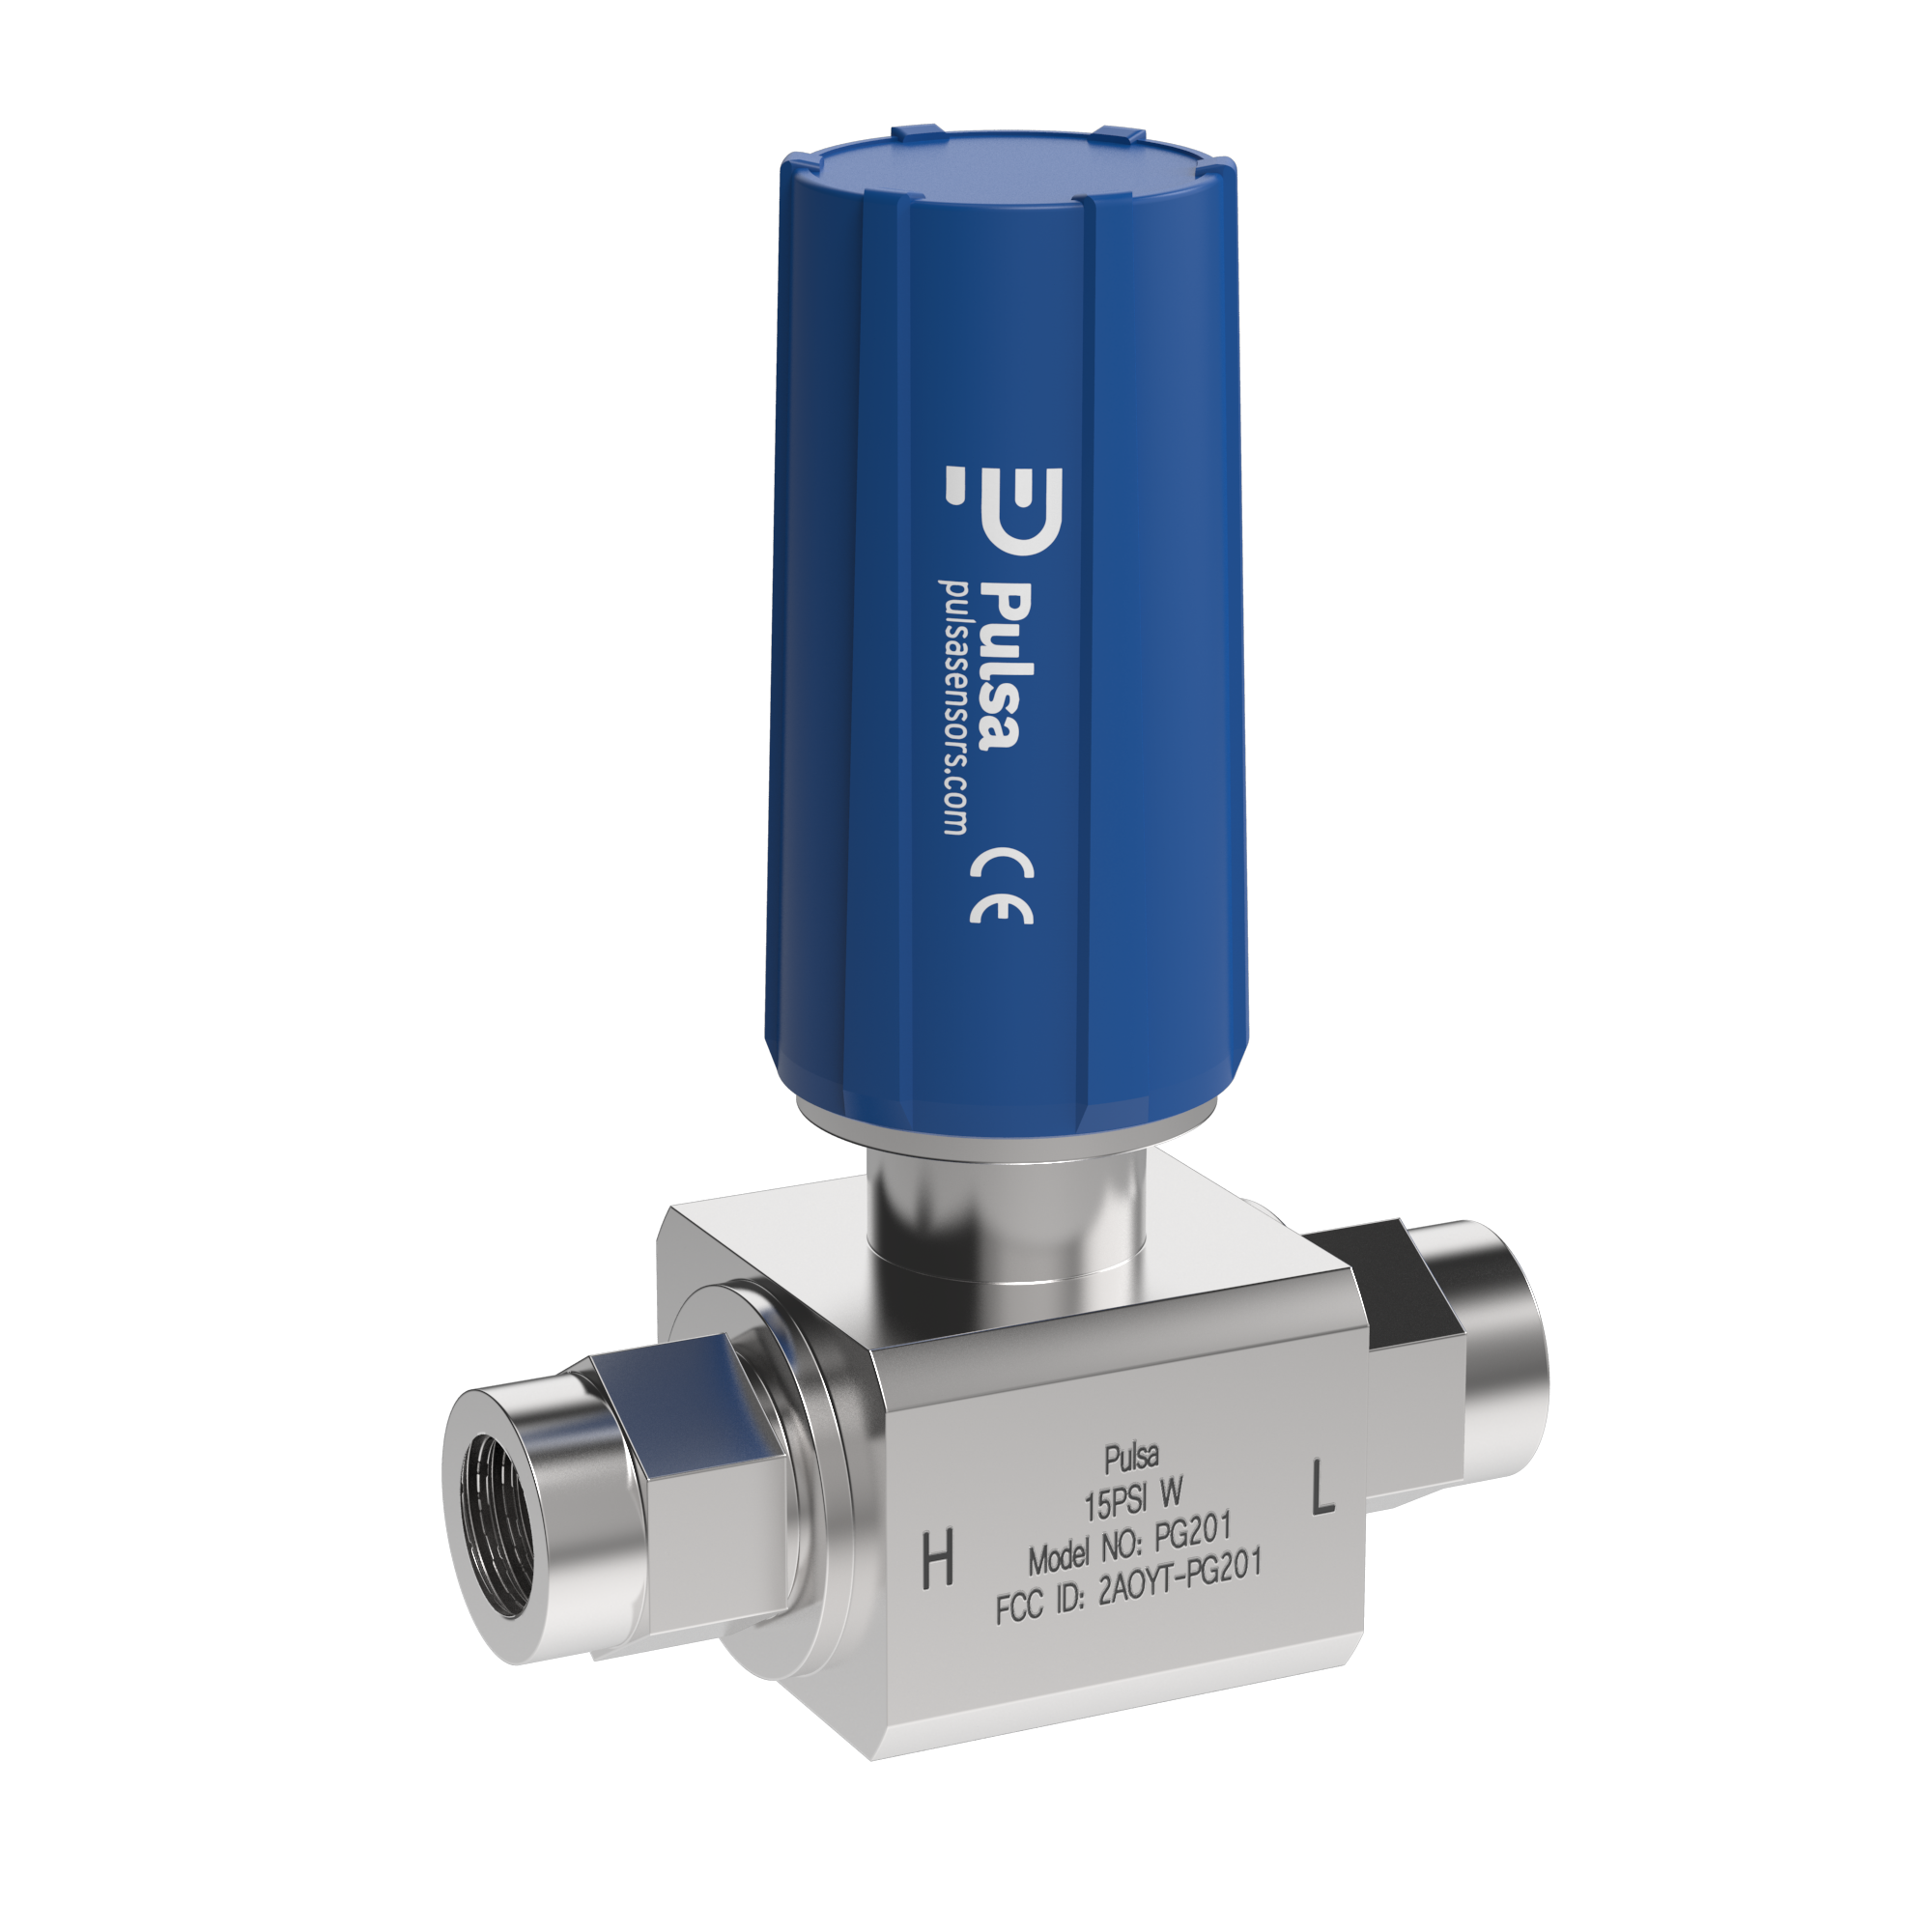
Physically connect sensor
Where to install
- If possible, install the differential pressure sensor close to the existing dial gauge.
- Sensor should be installed with cap facing 15 to 90 degrees above horizontal
- Locate the 1/4" NPT upstream pressure port on your regulator or a 1/4" NPT port in between your regulator and cylinder. The pressure sensor should be installed in a port that it is able to measure the pressure inside of the cylinder or container.
- Inspect port and fitting to ensure that both are free of contaminants and excessive burrs and nicks.
- Wrap Teflon tape 1-1/2 turns in a clockwise direction, viewed from the pipe end, leaving the first two threads uncovered. Another option is to apply a stripe of an anaerobic liquid pipe sealant around the male threads leaving the first two threads uncovered.
- Screw finger tight into the port.
- Wrench tighten the fitting 1.5 to 3 additional turns past finger tight. A properly assembled fittings total thread engagement should be 3.5 to 6 turns.
Physically connect the sensor
- Check all valves high pressure, low pressure and the equalizing valve, are closed
- Open the equalizing valve. This ensures that the same pressure will be applied to both sides of the sensor
- Open the Low pressure (Vapor) valve slowly, check for leakage from both the high pressure and low pressure side of the sensor
- Close the equalizing valve. This will lock the pressure on both sides of the sensor.
- Open the high-pressure (Liquid) valve to apply process pressure to the high-pressure side of the sensor and establish the working differential pressure.
- Sensor is now in service.

Note: To protect sensor from subzero liquid gas contact, ensure no subzero liquid gas ever touches the sensor diaphragm; this will kill the sensor. This can be accomplished by installing the sensor at a higher elevation than the high pressure line output and by increasing the length of plumbing between the high pressure line output and the sensor. If you are utilizing a liquid phase out port for the high pressure line, this is especially critical.
Confirm readings
- To determine if your sensor is working, navigate to [Sensor] tab on your Pulsa dashboard and confirm your newly created sensor is available and connected to desired product.
- After sensor setup, readings will be available within 5-10 minutes.
- View your sensor's "Last seen" time on the sensor's details page to confirm frequent readings
- A historical graph of your readings will appear within an hour of sensor setup
- For an informative breakdown of your readings/ sensor, click the small question mark located near your percentage/ weight reading.
- Here you will see your sensor's gross measurement, container weight, tare weight and net measurement. Your selected product's empty size and full size, as well as percentage remaining will be available here.
For more information on understanding your readings and troubleshooting, please visit: Troubleshooting

Update location
This step applies if setting up a new gateway. If your sensor will be installed with an existing gateway this step may have already been completed.
- Your sensor's location will be marked as "Unknown" if the gateway in use with your sensor does not have an assigned location
- To assign a location, click the gateway's name from your sensor's details page.
- Select a previously created location or create a new location
- Include the address or GPS coordinates of your new location to see it in map view
- Confirm location and click "Update gateway" to confirm changes


