

Follow the below steps to succesfully swap a battery in a V2 solar Kit
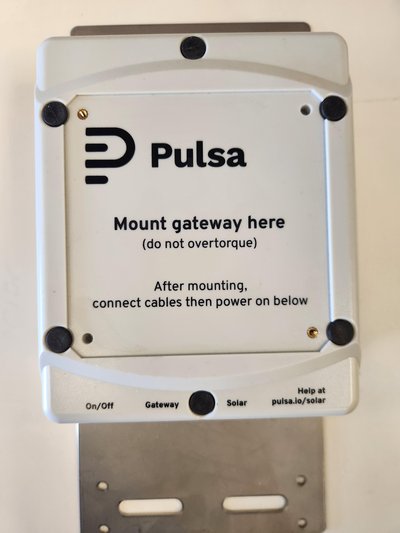
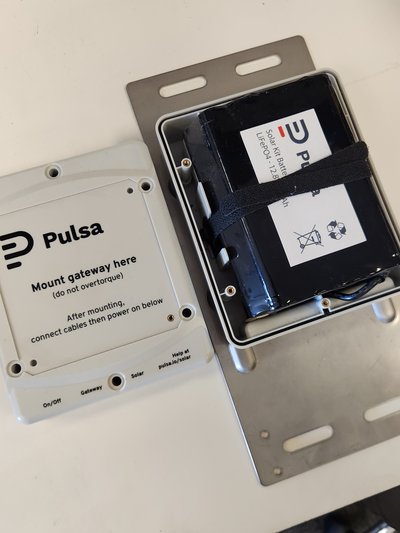
Un-mount the Gateway from the front of the Solar Kit
Loosen the mounting screws and carefully remove the gateway unit from the solar kit front panel. Place it in a safe location to avoid damage.
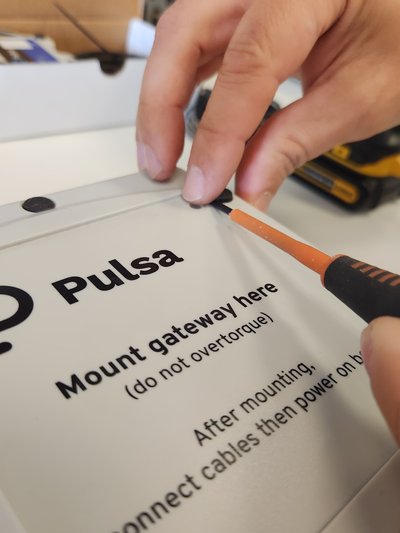
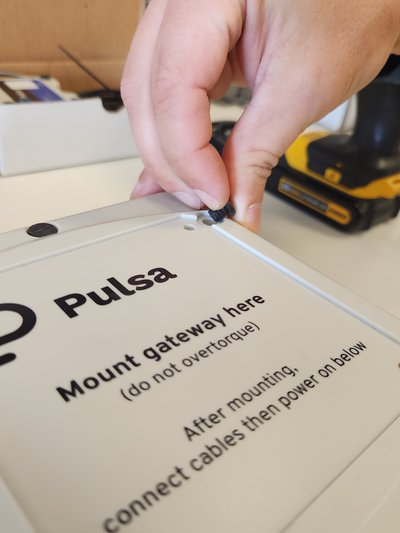
Remove Grommets
Detach the 6 rubber grommets securing the solar kit cover. These help seal the enclosure and will need to be reinstalled later.
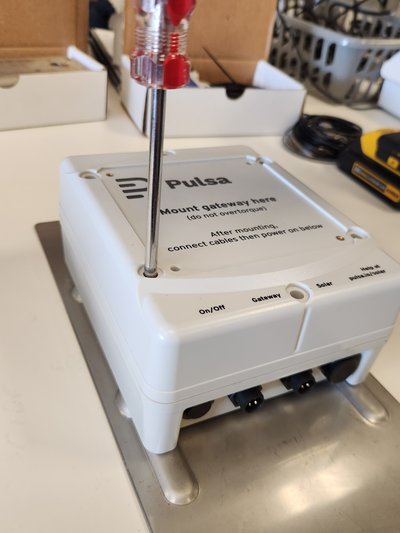
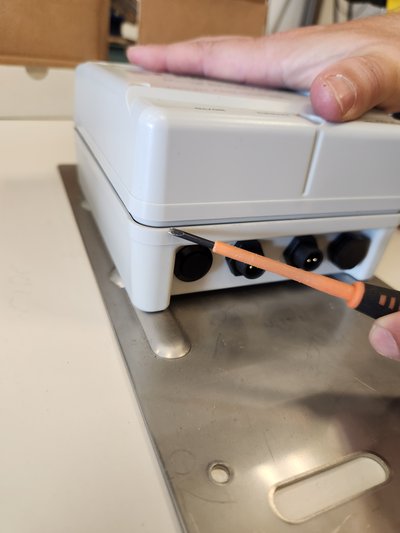
Remove Screws from Solar Kit Cover
Use a screwdriver to remove the screws holding the solar kit cover in place. Keep them in a safe spot for reassembly.
Remove Cover
Lift off the solar kit cover to expose the battery compartment and internal components.
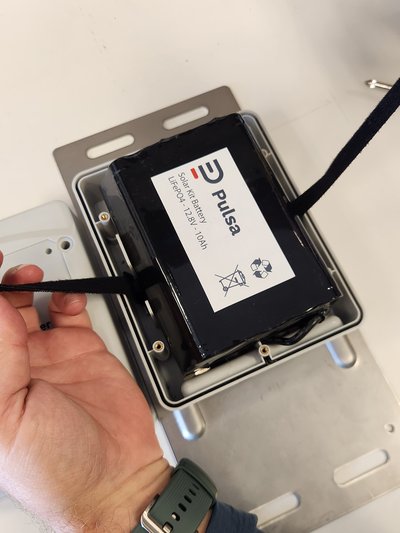
Remove Straps from Battery
Release the Velcro straps securing the battery in place.
Disconnect battery
Gently pull apart the battery’s power connector to fully disconnect it from the solar kit.
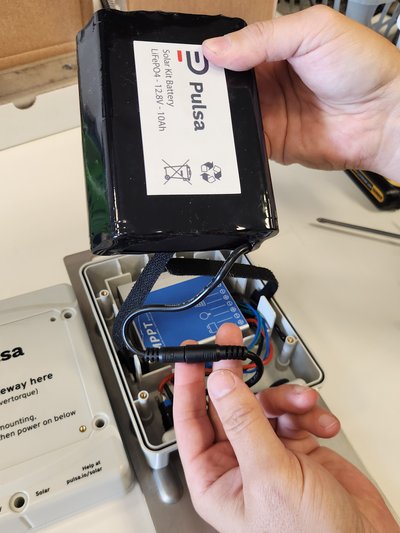
Insert and Connect New Battery
Place the replacement battery in the compartment and connect its power cable to the solar kit’s connector.
The connector should sit in the housing behind the new battery.

Strap New Battery in Place and Secure Cover
Re-fasten the Velcro straps around the new battery.
Replace the cover, reinstall the screws, and push the grommets back into place to ensure a proper seal.
**Ensure that the cover is seated securely before fastening screws to prevent damage to the cover.
Image of a properly seated cover:
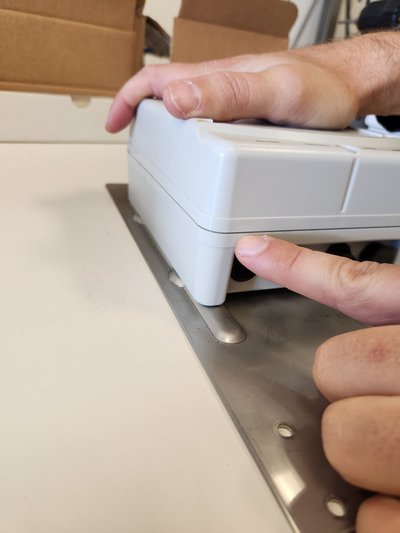
Image of an IMPROPERLY seated cover:
Engage the “On” Button
Turn the solar kit back on (button pushed INWARDS) using the power button. Confirm that the unit powers up and begins normal operation.