Supplies required
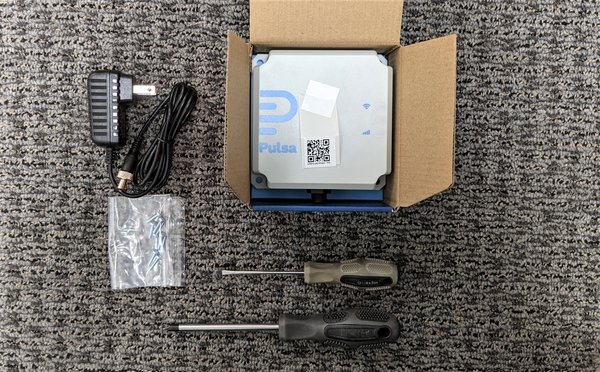
Replacement kit which includes:
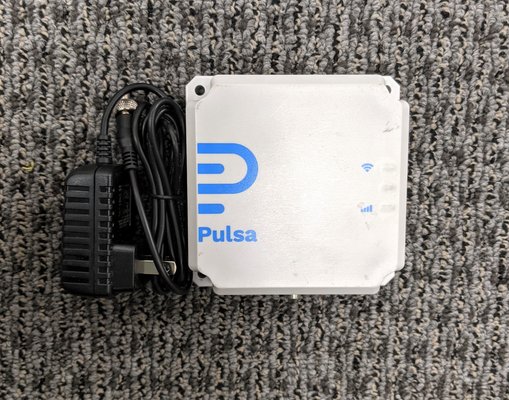
- Replacement gateway
- Pigtail
- Additional screws
- Twist ties
- Additional power adapter
Additional supplies
- Flathead screwdriver
- Marker
1
Remove plastic lid
- Unmount the solar kit if needed
- Remove the solar kit's plastic lid by loosening the four plastic screws from the panel
2
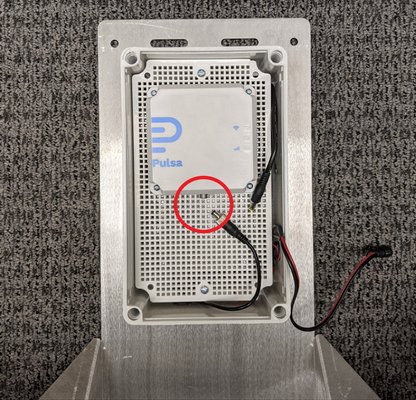
Disconnect the solar panel from the battery
- Disconnect the solar panel from the battery by disconnecting the two wires on the right hand side of the kit
3
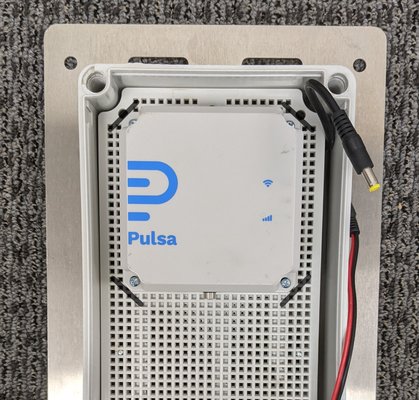
Disconnect the gateway from the Lumiax charge controller
- Disconnect the gateway from the Lumiax charge controller
4
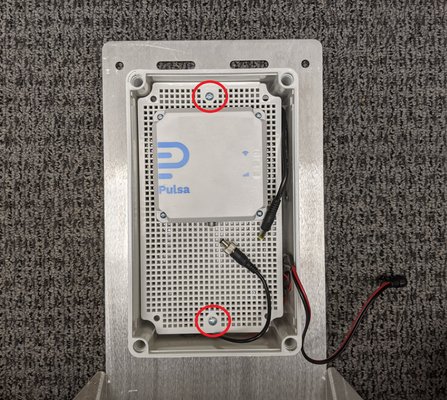
Unscrew inner mesh
- Remove the screws at top and bottom of mesh to loosen mesh panel
5
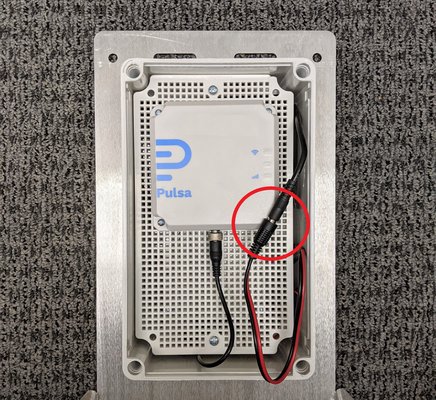
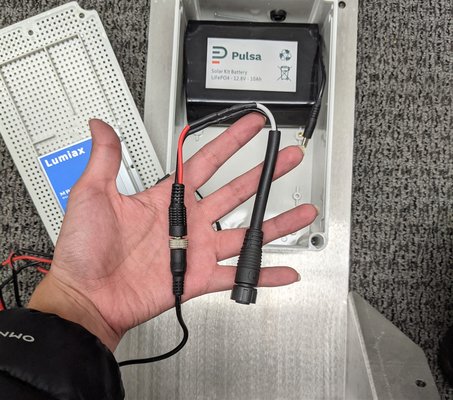
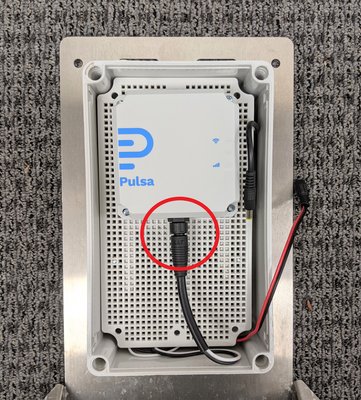
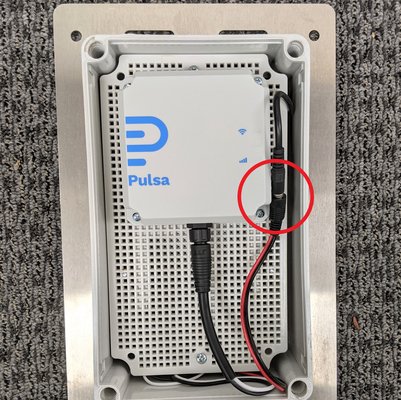
Attach included pigtail
- Attach included pigtail to the existing gateway adapter and charge controller
6
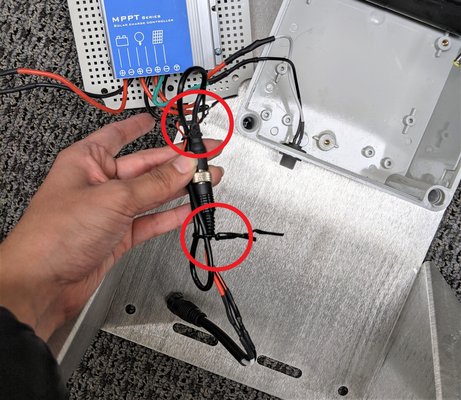
Manage excess wires, and tuck away
- Using the included twist ties, tie together the excess wire to easily tuck wires behind mesh panel
- Ensure new pigtail adapter, battery wire and solar panel wire are left out in front of panel

7
Re secure mesh
- Re secure mesh at top and bottom
8
Mark current gateway placement
- The replacement gateway must be installed in the same position as the original gateway
- Mark the current positioning of the gateway with a felt tip marker
9
Remove Gateway
- Remove the gateway
10
Mount & plug in new gateway
- Attach replacement gateway onto marked position
- Plug new pigtail into replacement gateway
11
Reconnect battery and solar panel wires
- Reconnect the battery to the solar panel
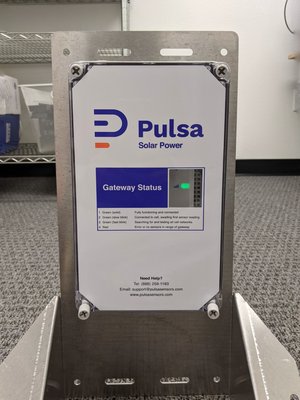
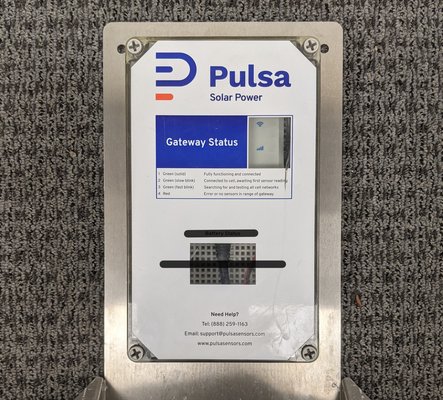
- The gateway should power on and begin trying to connect to nearby sensor
- If your gateway displays a solid red light after reconnecting, reset the power supply by disconnecting the wires, waiting about 20 seconds, and then reconnecting
- If the gateway does not immediately power on, solar charge may be low and will require some hours of charge before powering on
12
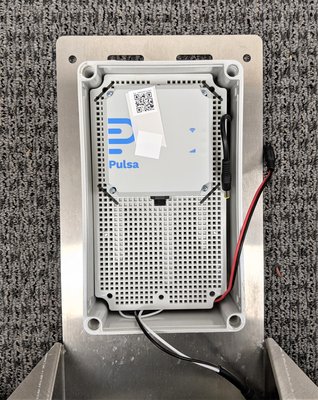
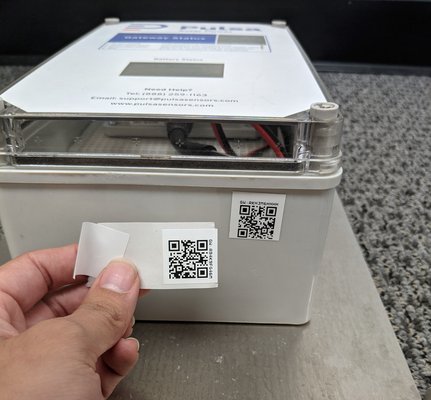
Adhere new QR code to kit and scan in new gateway ID
- The replacement gateway will come with a new QR code to attach to the solar kit
- Remove the current QR code on the outside of the kit and replace with the QR code listing the NEW gateway's ID
- Add the new gateway ID to your Pulsa dashboard by scanning the QR code, or manually typing the gateway ID to add.
13
Reattach plastic lid
- Confirm new QR code sticker has been attached
- Reattach plastic lid to solar kit
14
Mark bottom portion
- If solar kit displays a bottom "charge" window, mark over it to denote window will no longer be needed
- If no bottom window panel present, no action is needed

15
Confirm sensor connection
- Once install is complete, remount the gateway
- Note: gateway should be mounted pointed South where it will be able to receive at least 3-4 hours of sun a day
- If gateway is powered on and displaying a solid green light, confirm sensor connection and levels are accurate
- If your gateway displays a solid red light after reconnecting, reset the power supply by disconnecting the wires, waiting about 20 seconds, and then reconnecting
- If gateway requires charge, check back in on the gateway's detail page or a connected sensor to confirm readings

16
Reuse removed gateway
- Use the included adapter in your gateway kit to convert the gateway into a plug in adapter
- Attach adapter and use as normal
Note: Before reusing the gateway, make sure to update your gateway's details to accurately reflect new name and location.